Everybody has some creative ability from birth. But to put such talents to use, we need a variety of craft project-related tools.
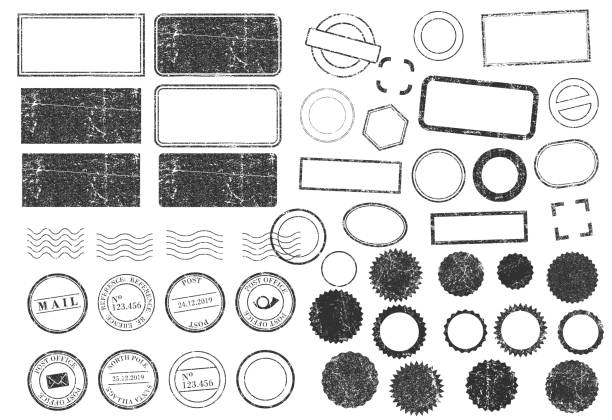
Stamping is a simple method to add flair to any project, create custom branding, identify office supplies, and expedite time-consuming procedures. This is an ancient craft that dates back hundreds of years. Planning and gathering resources are necessary if you want to master the finest stamping crafts for beginners. One enjoyable approach to mastering the stamp is to make your stamps.
Stamps are seamless, but creating one for yourself might be challenging. The greatest stamping projects for novices are covered in this article, along with the different kinds of stamps you may employ to leave a customized impression.
Customize & Restart Your Stamping Crafts
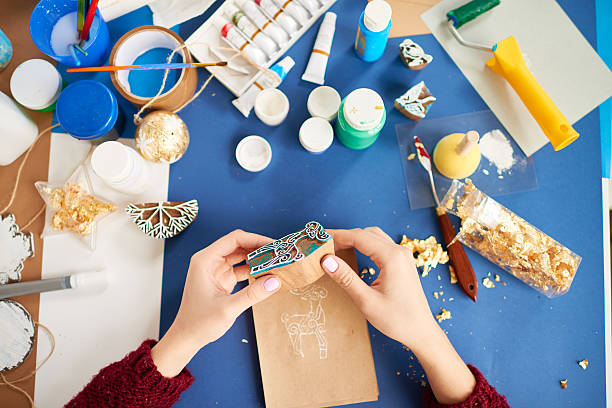
Although using rubber stamps for projects has long been popular, customizing your crafts has never been simpler, thanks to new archival ink colors and limitless stamp designs. Anything can be made quirky and one-of-a-kind using the correct stamp and ink set made available by kiasuprint.com, from flower pots to scrapbooks, cushion covers, and handcrafted prints.
We’ve developed some fantastic pointers and easy guides for stamping on fabric!
Five Best Tips for Stamping on Fabric
First, pick your ink carefully.
When venturing into fabric-based projects, the choice of ink becomes paramount. Opt for an ink specifically crafted for textiles, ensuring it possesses fade-resistant qualities and holds an archival grade. This careful selection guarantees longevity and vibrancy, safeguarding your creations from the wear and tear of time. Whether you’re adorning garments or crafting textile art, the right ink lays the foundation for a lasting and visually striking masterpiece.
Choose your stamp
For fabric, you can use almost any style; however, transparent cling-mount stamps work best to create a recurring pattern. Because of their transparency, you can see precisely where you’re placing them, saving you from winging it and hoping for the best!
Make Use Of The Preparation Power | Tidy Your Workstation & Fabric
Like anything else in life, stamping requires preparation to be successful. When it involves stamping cloth, you can’t go back, so set up your project station and the product beforehand. As though it were a craft or artistic endeavor, set up your stamping station. It should be level, clear of clutter, and coated with scrap paper to shield the table from ink.
It is best to prewash the fabric before beginning. This is due to the fact that most materials have a coating that reduces the lifespan of the stamp. Rinse and iron the material for a smooth stamp application and a durable impression.
Inking the stamp
Getting an adequate, even coat of ink onto the stamp’s surface is essential to a decent image. Rather than pushing the stamp firmly onto the ink pad, lightly tap the whole surface of the overturned stamp to ensure that the ink is distributed evenly. Over-inking a stamp creates a sloppy, blobby, and indistinct image. This method of applying ink also has the benefit of not caring if the ink pad is thinner.
Keep Going | Advice For Perfect First Impressions
Apply ink to the rubber stamp and push it into the leftover fabric to make an impression. The stamp should be pressed downward into the fabric via medium pressure. Even though you didn’t exactly reach the mark, never attempt to move the rubber stamp after it is in place. Smearing the ink can be done by repeatedly moving, wriggling, or pressing the stamp’s handle.
Smudges typically have a worse appearance than a slightly crooked pattern. Once you have the swing of it, you may proceed to your product, stamping it as many times as necessary to achieve the desired effect.
Supplies Required
As with any other fabric stamping project, you should begin by gathering all necessary supplies.
- Fabric: Fine, tightly woven materials are ideal.
- Stamp: Tiny stamps with intricate details should be avoided since they may be misplaced during the stamping procedure. Using a fabric stamp or a bespoke stamp with a broader pattern for fabric stamping is recommended. Geometric patterns, such as squares, lines, and triangles, are excellent starting places.
- Scrap paper: For wiping off stamps while working on a project.
- Swatch of Cloth: Use this swatch of cloth to practice stamping patterns onto fabric to gauge your satisfaction with the pattern.
For consistency, pick an item of the same material you’ll be using throughout the project.
- Paper: To shield your workspace from stray fabric ink.
Types of Fabric to Use
Recall that ink bleeds onto cloth, including fabric ink. There will be more bleeding the larger the fabric weave. Thus, it’s better to stick to tight woven fabrics like linen or cotton. Selecting a lighter cloth will also improve the visibility of the color of the fabric ink. This is especially useful for projects like table covers, where a crisp, clean print is essential.
Never, ever, ever forget to test your ink on a piece of cloth before putting it on something you like.
Making a Good First Impression
You must apply a thin, even layer of fabric ink to the stamp to make an excellent impression. The stamp you select needs to have a few small elements and be larger. Next, take out that leftover fabric we discussed before and test stamping your design!
Once you’ve mastered your stamped design, put those scraps away and get your actual fabric pieces. Ensure that you apply even and direct pressure on the stamp. Keep it in place, and don’t move it. Once finished, simply pick up the stamp and proceed!
In the end!
Ultimately, cleaning your stamps is essential for novices when learning the finest stamping crafts. You can use a soap and water mixture for most stamps. To clean your stamps, use a cloth without fibers. Another option is to use a stamp cleaner. Rubber stamps, however, could find soap and water to be a bit too strong. Alternatively, you can clean your stamps with alcohol-free wipes. Rubber stamps work well with baby wipes.