In this guide, we will walk you through the step-by-step instructions that can help you to successfully setup your IJ Start Canon Printer on your respective computer/laptop device.
Therefore, if you are looking for the proper guidance to setup your Canon IJ printer on Windows or Mac through wired or wireless option then, luckily you’ve landed on the right place.
Hence, without any further delay, let’s get started—
Basic Prerequisites to Fulfill
Right before you setup Canon printer, you need to meet these basic prerequisites—
- In the first place, you’ve to unbox your printer package to find out the basic accessories for the connection such as ink cartridges, disk tray, matte photo paper, driver installation CD, power cord, print head, and of course printer.
- Keep the right model number of your printer handy.
- Make sure that your computer/laptop device has enough storage space for installing drivers without hassle.
- Be sure to properly plug your printer into a power outlet
- Connect your computer/laptop device to a strong and active internet connection &
- Check the Network you’re using to make sure it has WPA or WPA2 security protocol.
Now, you’re all set to go ahead and start executing the step-by-step instructions for your ij.canon.setup thatare noted underneath.
Process to Setup Canon IJ Printer on Windows (Wireless)
- Step 1: First of all, you need to visit ‘Canon.com/ijsetup’—it’s a website specifically designed to provide manuals, guides and a direct driver download link to all Canon Printer users.
- Step 2: On the ‘Canon.com/ijsetup’ site, all you’ve to do is type in the model number of your printer, search the requested model in the database and once you find it, click the ‘Start’ button on the right to begin downloading the Canon printer driver.
[Note: In between the on-going download, make sure you do not close the window or turn off your computing device because if you do so, it will stop downloading the driver file.]
- Step 3: Then, follow the on-screen prompts to install the downloaded file of your Canon printer driver onto your device.
[Note: Canon printer driver is vital to enable the communication between your computer and printer.]
- Step 4: Once you’ve downloaded and installed your Canon printer’s driver, move ahead and turn it on to make sure whether it is plugged in properly with the power switch or not.
- Step 5: Upon checking that, you can simply open the downloaded file of your Canon printer’s driver setup by double-clicking on it.
- Step 6: Then, you need to click on the ‘Next’ option until and unless you see a screen from which you can choose the ‘Wireless Setup’ option.
- Step 7: Now, once you’re done selecting the wireless option, move ahead and go to your Canon printer screen to simply click on ‘Wi-Fi setup’ button from there.
- Step 8: Following that, just select the ‘Device settings’ option before you click on the ‘OK’ button.
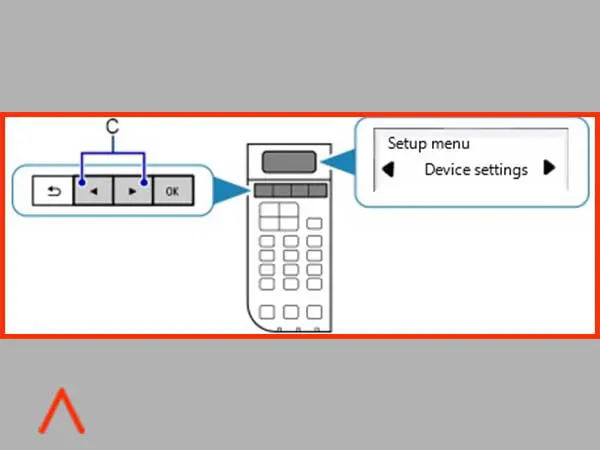
- Step 9: Next, what you’ve to do ischoose ‘Device Settings’ followed by ‘LAN Settings’ and then hit the ‘OK’ button.
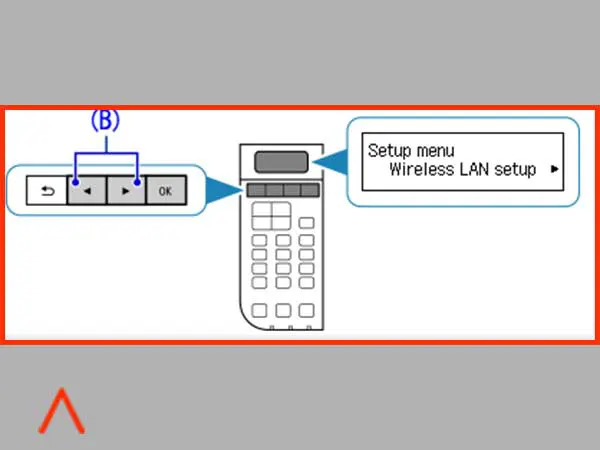
- Step 10: Similarly, select ‘LAN Settings’ followed by ‘Wireless LAN Setup’ and again click on the ‘OK’ button to let your printer search for an access point.
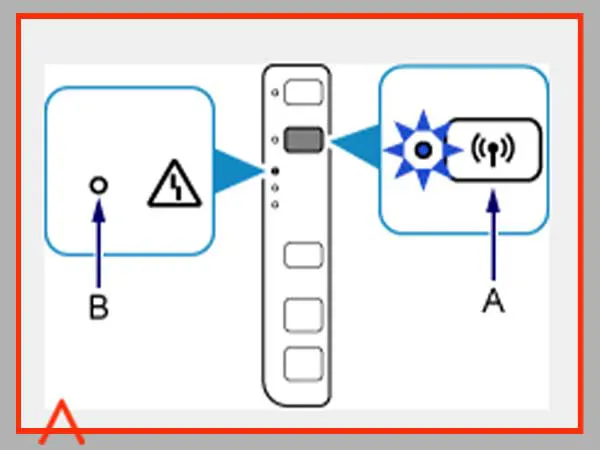
- Step 11: Now, make sure that your Wi-Fi router is turned on and if so, a Wi-Fi Flash lamp will start blinking on the printer.
- Step 12: As it happens, a network list will appear in front of you and from it, you’ve to simply select your ‘Wi-Fi Network’ before clicking the ‘OK’ button.
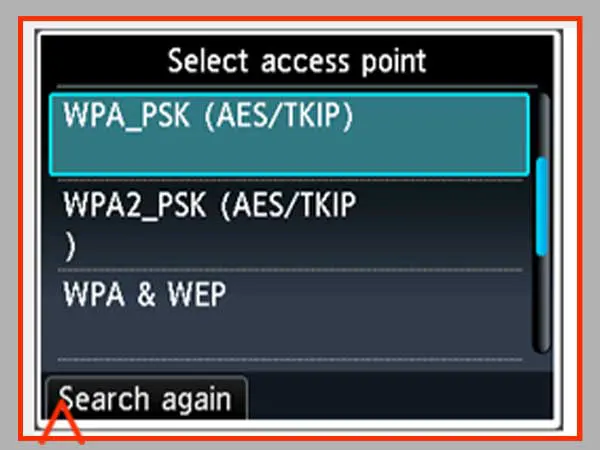
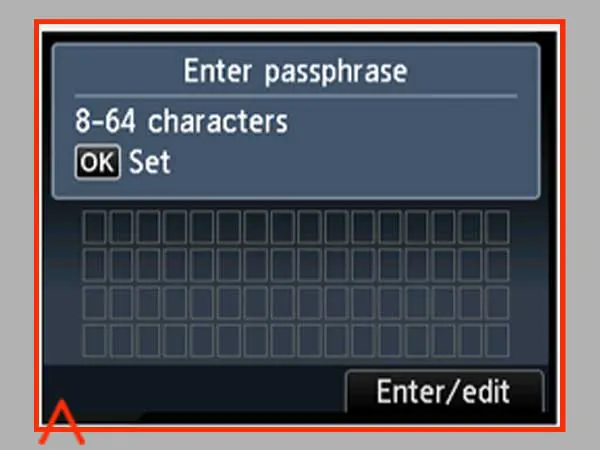
- Step 13: Thereafter,you’ll be asked to provide your WPA/WEP security key i.e., your ‘Wi-Fi Password.’ So, make sure you enter your correct password in the desired text-field and then, click on ‘OK.’
- Step 14: In doing so, your Canon ij printer will take around a minute to finally connect to your Wi-Fi network.
So, congratulations! This is how your Canon IJ printer has been wirelessly setup on your respective PC/Laptop’s Windows system.
However, once you finish the setup process, it is generally suggested that you follow the below-mentioned steps to make sure your printer is added on your Windows system and is ready to serve quality printouts.
How to Ensure Your Printer is added on Your Windows System?
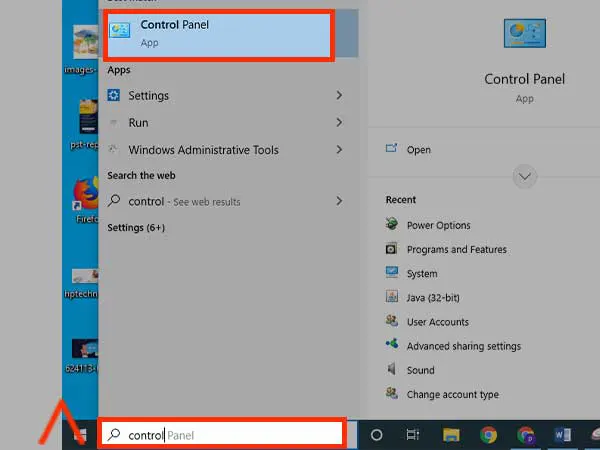
- Step 1: Press ‘Windows Logo + S’ shortcut on your keyboard to open ‘Windows Search’ wizard. In that, type “control” and click on ‘Control Panel’ from the search result that appears to simply open it.
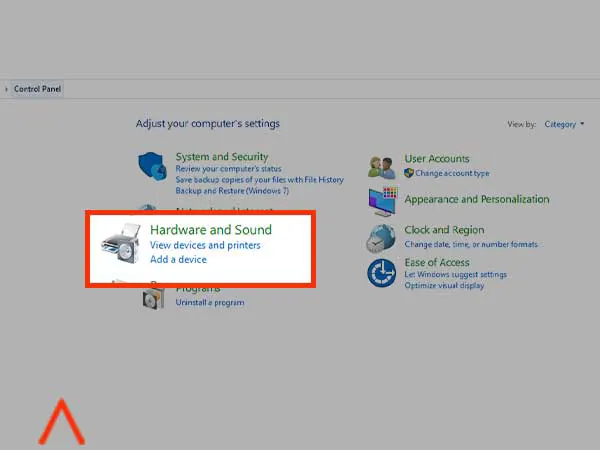
- Step 2: From the ‘Control Panel’ application window, you’ve to choose the ‘View Device and Printer’ sub-option under ‘Hardware and Sound’ option.
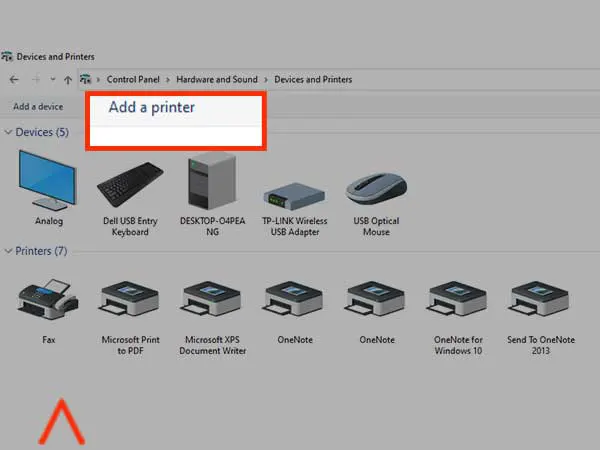
- Step 3: Then, you need to check if your Canon ij printer is visible on the next screen with a green check mark or not. In case if not, you will then need to manually add your Canon printer by clicking on ‘Add a Printer’ option.
- Step 4: In doing so, a list of all available printers will appear on screen and from it, you need to select your ‘Canon printer.’
- Step 5: After selecting your printer from the list, click on the ‘Next’ button and wait till your printer gets added.
- Step 6: Now, when it’s done, you’ll see your Canon ij printer added with a green check mark on the ‘Device and Printer’ tab of the Control Panel app.
Process to Setup Canon IJ Printer on Windows (Via USB)
- Step 1: For setting up your Canon IJ printer on Windows through USB also you need to begin by downloading the Canon printer driver from ‘Canon.com/ijsetup’ & then, installing it with the help of on-screen prompts.
- Step 2: Once done, make sure to connect your Canon ij printer and your Windows system through a ‘USB Cable.’
- Step 3: After doing that, go to the ‘Control Panel’ and from its window, select the ‘View Devices and Printers’ option.
- Step 4: Now, check whether on the next window you’ll see a Green check-mark in front of your Canon ij printer or not.
- Step 5: In case, if not, what you can do is immediately add your printer manually and for that, click on the ‘Add a Printer’ option and select your Canon printer from the list of all available printers that appears on the screen.
- Step 8: Thereafter, you just have toclick the ‘Next’ button and wait patiently for a while till your printer gets added to the list.
Once it is added successfully, you’ll notice a Green check-mark on your Canon ij printer icon and this means now your printer is ready to use.
Process to Setup Canon Printer on Mac (Via https://canon.com/ijsetup)
- Step 1: To set up a Canon printer on Mac, first open Safari web browser and visit this https://www.canon.com/ijsetup link.
- Step 2: From the given link, you’ve to download your Canon ij printer’s setup driver.
- Step 3: Once you finish downloading, be ready for its installation. You need to simply follow the on-screen instructions to install the downloaded setup driver of your printer.
- Step 4: Following that, what you’ve to do is put the Canon printer on the same ‘Wi-Fi network’ as your device and in order to do so, you can refer to the first section of this write up to follow the steps from 7 to 12.
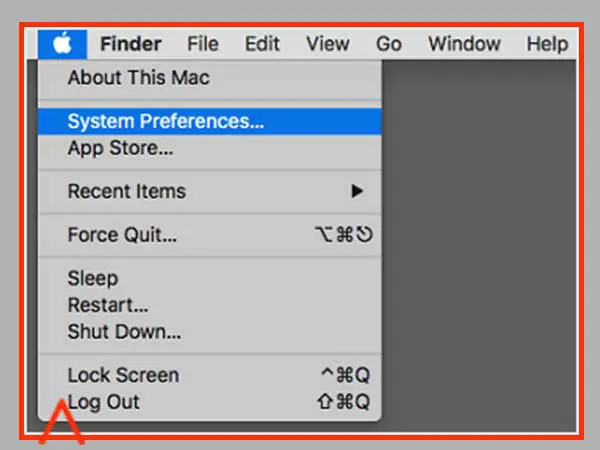
- Step 5: Upon doing so, you need to open the ‘Apple’ menu and click on its ‘System Preferences’ option.
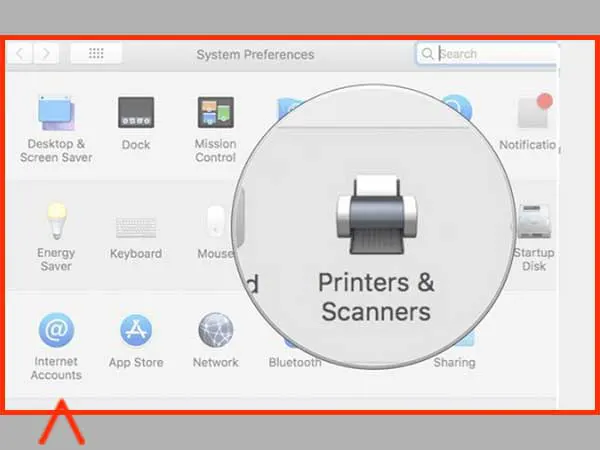
- Step 6: From the system preferences window, click on the ‘Printers and Scanners’ option that is available there in the form of a printer shaped icon.
- Step 7: Next, click on the ‘+’ sign you see in the bottom left corner of the screen. In doing so, a pop window will appear where you’ll be able to see your specific printer’s name. [Note: It is possible only if it is already connected over the network.]

- Step 8: Now, as you see your Canon printer name in the left-hand pane of the window, you can just click on it to finally begin the setup process.
And, once the setup process is completed, your Canon ij printer name will be displayed with a Green checkmark to indicate that it is completely ready to deliver quality printouts from the connected Mac device.
Bottom Line
That’s all! We hope that using this Canon IJ setup guide you’ll be able to successfully add your printer on your respective Windows | Mac device’s operating system.
However, if you need any help or further clarification regarding the Canon IJ setup then, you can directly contact Canon support team on their toll-free helpline number.